I have some new snags for you today using the artwork of Anna Liwanag and the scrap kit IB_Enamorte 7-1 by ChichiDesigns, both of which can be purchased at CDO.
Friday, November 29, 2013
Thursday, November 28, 2013
Sparkle Stripes Tutorial
This is a new tutorial written by me. Any resemblance to any other tutorial on the web is coincidental.
Supplies
Paint Shop Pro (I use version 9, but this should work in all versions.)
Animation Shop
Tube of choice. I'm using one by Misticheskaya which can be purchased at Pics for Design.
DSB Flux Bright Noise
VM Experimental Tee Wee
Font of choice. The one I'm using is called DJ Classic.
Eye Candy 4000 Gradient Glow (optional)
Mask DD Assorted Mask 5 which you can get here.
1. Open a new image in PSP 600 x 600 with a white background. We'll resize later.
2. Set your foreground to a color from your tube and your background to another color from your tube, and with you background set to null draw a large rectangle on your canvas and center it.
3. Click on your rectangle with your magic wand. Go to Selections>Modify>Contract by 5.
4. Hit delete on your keyboard. Do not deselect yet.
5. Go to Selections>Modify>Expand by 1.
6. Add a new layer and flood fill with your background color. Drag this layer under your frame layer. Select none.
7. Using the same settings that you used making your original rectangle. Draw 3 smaller rectangles across the top of the frame layer. You should have something like this.
8. Hide your white background layer and your bottom rectangle layer. Merge visible.
9. Add a drop shadow to this layer. Make sure you tick the shadow on new layer.
10. Duplicate this layer twice. On the original layer apply DSB Flux Bright Noise with the following settings. On the middle layer, apply Bright Noise and hit the mix button once. On the top layer, apply Bright Noise, and hit the mix button again.
11. Hide the top 2 layers and unhide your white background layer and background rectangle layer.
12. On your background rectangle layer, apply VM Experimental Tee Wee with the following settings.
Due to the version of windows that I'm running, I've had to import many of my filters into Filters Unlimited.
13. Activate the white background layer and add a new raster layer. Flood fill with the same color as your background rectangle.
14. Go to Layers>New Mask Layer>From Image. Choose DD Assorted Mask 5. Layers>Merge Group.
15. Activate your top hidden layer, and add your tube and and add a drop shadow of choice.
16. Crop any excess background from your tag and resize to your liking. I resized mine to 75% after cropping.
17. Add your copyright and your name. I added a fat white glow using Eye Candy 4000 to my name.
18. If you are not animating, go ahead and save your tag.
Animation
1. Make sure your top 2 Bright Noise shape layers are hidden. Copy merged. In Animation Shop, paste as a new image.
2. Back to PSP, hide the bottom noise layer and unhide the middle layer. Copy merged. In Animation Shop, paste after current frame.
3. Back to PSP, hide the middle noise layer and unhide the top layer. Copy merged. In Animation Shop, paste after current frame.
4. Save as a GIF file.
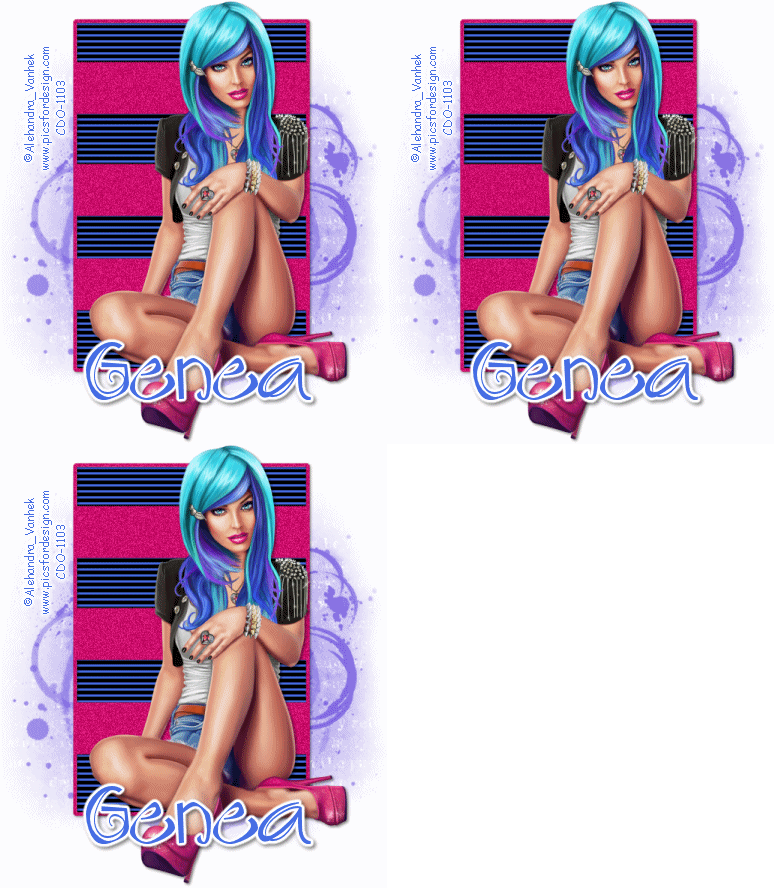
I hope you've enjoyed this tutorial. Here are a couple more tags I made with it.
Monday, November 25, 2013
Rzhevskii Snags
I've got some more new snags for you today. These are made using the art of Eugene Rzhevskii which can be found at Pics for Design, and a tut called "Asian Fairy Old School Tut" by Megan.
PS. Be on the lookout for a new tutorial by me sometime later today.
PS. Be on the lookout for a new tutorial by me sometime later today.
Saturday, November 23, 2013
Ann Fesenko Snags
I'm trying this again. I've got the copyright correct this time. Here are some snags that I made for you with the artwork of Ann Fesenko at Pics for Design
.
.
Friday, November 22, 2013
Smile Word Art
I know I promised to send this the other day, but I've been to irritated at my job to accomplish much of anything. So, I've been trying to remind myself to smile which is what inspired my silly word art. You may color it, use it in a tut, but if you share it, please refer people to my blog. Thanks!.


Download here.
Sunday, November 17, 2013
Friday, November 15, 2013
Just a Note
So, I've been trying to organize my external hard drive again. It's a never ending battle for me. I realized that I have zillions of tubes and scrap kits and animations and templates and cluster frames and textures and masks, etc. that I have never used...not to mention all the great tutorials out there that I have on my "to do" list. I will probably not be able to use them all in my life time, but I'd at lease like to make a dent in them....well, a scratch really. So, I am going to try to give you all a goodie a day. Whether it's a tut or more snags. There may also be some other goodies too. I'm almost done with a silly word art. So, stay tuned, and we'll see what I can come up with. Oh, and I'm gonna beg for a minute. If you like what you see here, please follow my blog. I don't have any followers yet. :(
Hugs!
Genea
Hugs!
Genea
Funky Circles Tutorial
This is an original tutorial by me. Any resemblance to any other tutorial is coincidental.
Supplies
Paint Shop Pro (I use version 9, but it should work in other versions as well.)
Animation Shop
Tube of choice. The one I'm using is by Jasmine Becket-Griffith, which you can purchase at CDO.
Do not use this tube without a proper license
Toadies - Picasso's Another World
Mura's Meister - Copies
DSB Flux - Bright Noise
Font of choice. The one I'm using is called DJ Groovey.
1. Open a new canvas 600 x 200.
2. Change your foreground to a color from your tube and your background to a similar or complementary color from your tube. On the background tag, switch to a foreground /background gradient with the following settings.
3. Flood fill your canvas with this gradient.
4. Apply the Filter Toadies Picasso's Another World with the default settings. I had to import it to Filters Unlimited for it to work for me.
5. Change your foreground to a contrasting color and your background color to null.
6. Click on your preset shape tool. Create as vector and change the line width to 8.
7. Draw a small circle on your canvas. Objects>Align>Center in Canvas. Convert to raster layer.
8. Apply Mura's Meister Copies with the following settings.
9. Duplicate this layer twice.
10. On the bottom circle layer apply DSB Flux Bright Noise at 50 per cent with the mix button ticked. On the middle circle layer hit apply Bright Noise hit the mix button again. On the top circle layer apply Bright noise hit the mix button again. Hide the top two layers for now.
11. Change your background to white or another light color from your tube. With the foreground set to null draw out a rectangle the width of your canvas. Convert to raster layer and lower the opacity to 60 per cent.
12. Add your tube as a new layer and add a drop shadow of choice.
13. Add a new raster layer. Floodfill the same color as your circle layer.
14. Selections>Select All. Selections>Modify>Contract by 4. Hit delete on your keyboard.
15. Apply bright noise with the previous setting. Apply drop shadow of choice.
16. Add Copyright information and your name.
17. If you are not animating, save as a JPEG or PNG.
Animation
1. In Paint Shop Pro, click on Edit>Copy Merged.
2. In Animation Shop. Paste as a new image.
3. Hide your bottom circle layer and unhide the middle circle layer. Copy merged.
4. Back to AS. Paste after current frame.
5. Hide your middle circle layer and unhide the top circle layer. Copy merged.
6. Back to AS. Paste after current frame.
7. Save as a GIF, and you're done!
I hope you enjoyed my tutorial, and I would love to see your results. Below is another example I made from this tut.
Tuesday, November 12, 2013
Caron Vinson PInk Ice Snags
I've got some new snags for you using the art of Caron Vinson, which can be purchased at CDO, and the Pink Ice scrap kit by Abstract Creations.
Tuesday, November 5, 2013
Maxine Gadd Snags
I've got some more snags for you using a tube by Maxine Gadd and a scrap kit by Crazy Carita. Both can be purchased at CDO
.
.
Subscribe to:
Posts (Atom)


