Supplies
Tube of choice - The tube I'm using is a former bonus tube by Pinuptoons. You can purchase Pinuptoons tubes at
CDO. Please do not use this tube without a license.
Scrap kit of choice - I'm using the "Lady Luck" kit by Designs by Vaybs
here.
Word art of choice - I'm using "Lucky" word art by me and posted below.
Calendar font
here.
Font of choice for name - I'm using one called Corabel.
Mask of choice - I'm using DBV Mask 89
here.
This tutorial was written by me. Any resemblance to any other tutorial is purely coincidental.
Before I begin, let me explain the calendar font.
Capital letters make capital letters. Simple enough. The calendar boxes for the numbers 1-31 are in order on your keyboard..... mostly qwertyuiopasdfghjkl;zxcvbnm,./[ For a blank box, use ~. And the days of the week can be made using Shift 1 - 7.
Now on to the tutorial.
1. Open a new canvas 600 x 600. While I like a smaller tag, I like a plenty of room to work. I can always crop and resize at the end.
2. Set the calendar font to size 36/Vector/AntiAlias-Smooth.
3. Type out MARCH (or the month you're using) in all caps somewhat near the top of your canvas. Leave enough room to add the rest of the calendar below it. I elected not to add the days of the week, so it can be used year to year.
4. Objects>Align>Horizontal center in canvas.
5. Convert to raster layer.
6. Using the Calendar font with the same settings type out qwertyu (enter) iopasdf (enter) ghjkl;z (enter) xcvbnm, (enter) ./[~~~~ (enter), and apply.
7. When you're happy with the distace between the name of the month and the calendar. Objects>Align>Horizontal center in canvas.
8. Convert to raster layer.
9. Activate your preset shape tool. Rectangle with anti-alias and create as vector checked. Line width 2. Draw a rectangle around your month, so that it connects with the calendar and is the same width as the calendar.
10. Convert to raster layer. You should have something like this.
11. Layers>Merge Visible.
12. With your magic wand, click the area outside your calendar.
13. Selections>Modify>Expand by 1.
14. Copy and paste paper of choice as a new layer. I'm using DBV_LadyLuck_Paper (9).
15. Drag this layer below your calendar layer and hit delete on your keyboard. Select none.
16. Layers>Merge Visible. You should have something like this now.
17. Image>Rotate>Free Rotate 20 degrees to the left
18. Adjust>Sharpness>Sharpen. (Rotating the image will blur it just a little bit.)
19. Apply a drop shadow of choice. I used V & H 2 Blur 5 and Opacity 50 with the color black.
20. Add your tube as a new layer. Move to the left side of your tag.
21. Apply same drop shadow.
22. Copy and paste the "Lucky" found below as a new layer and move to the bottom of your tag. Resize.
23. Apply drop shadow.
24. Apply elements of choice. Add drop shadow of choice to each element.
I used the following elements from Vaybs "Lady Luck" kit. You can see my finished tag for placement if you are using the same kit.
Element 51 - Resize 85% - Rotate to the right 90 degrees
Element 39 - Resize 50%
Element 42 - Resize 85%
25. Add a paper of choice and drag to the bottom in your layer palette. I used paper 5.
26. With your bottom paper layer active, Layers>New Mask Layer>From Image and choose DBV Mask 89.
27. Layers>Merge>Merge Group.
28. Crop any excess blank canvas off your tag.
29. Resize your tag to your liking. I resized mine to 70%.
30. Add your copyright information and your name.
31. Save as PNG or JPEG.
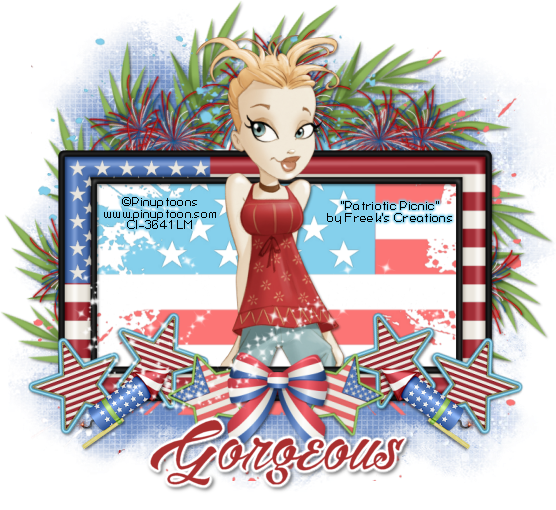
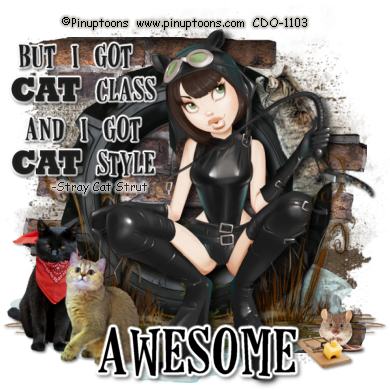
Here are a couple more tags I've made with this tutorial.