Look who's back. The ghost town blogger....cuz my blog is looking like a ghost town!
I have a new tut for you today. It's a super simple old school/no scraps tut.
Supplies
Paint Shop Pro (I used version 9, but this should work in all versions.)
Tube of Choice - I'm using one by Jeff Haynie. You can purchase his tubes at CDO.
Toadies Ommadawn
Eye Candy 4000 Gradient Glow (optional)
Font of choice. (I'm using one called VTKS Dear Love.)
1. Open a new image 400 x 400.
2. Choose 2 colors from your tube (one for foreground and one for background)
3. Click on your foreground and create a starburst gradient with the following settings.
4. Flood fill your canvas with this gradient.
5. Apply WSL mask 330 to this layer.
6. Merge group.
7. Add your tube as a new layer. Resize as necessary.
8. Duplicate your tube twice and hide the top two tube layers.
9. On your bottom (original) tube layer, apply a gaussian blur of 5.
10. Move slightly up and to the left.
11. Apply Toadies Ommadawn with the following settings.
12. Using your magic wand with the following settings, click on the black lines. You may want to zoom in.
13. Selections>Modify> Expand by 2.
14. Hit delete on your keyboard.
15. Selections>Modify>Contract by 1.
16. Add a new raster layer.
17. Flood fill with your gradient or a complementary color.
18. Apply a drop shadow of choice. I used V&H 2, O 50 and B 5.
19. Unhide your middle tube layer and apply the same drop shadow.
20. Unhide your top tube layer and apply a Gaussian Blur of 5.
21. Change your blend mode to Overlay or something suitable to your tube. (Different tubes look good with different blend modes.)
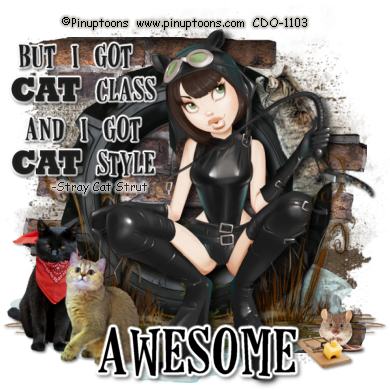
22. Add your copyright and name. I added a fat gradient glow to my name.
23. Save as a PNG or JPEG.
Featuring the artwork of Carolina Seabra aka Queen Uriel.
This is the original tag I made for a challenge in the CDO Facebook group.