Supplies
Paint Shop Pro (I use version 9, but this should work in all versions.)
Animation Shop
Tube of choice. I'm using one by Misticheskaya which can be purchased at Pics for Design.
DSB Flux Bright Noise
VM Experimental Tee Wee
Font of choice. The one I'm using is called DJ Classic.
Eye Candy 4000 Gradient Glow (optional)
Mask DD Assorted Mask 5 which you can get here.
1. Open a new image in PSP 600 x 600 with a white background. We'll resize later.
2. Set your foreground to a color from your tube and your background to another color from your tube, and with you background set to null draw a large rectangle on your canvas and center it.
3. Click on your rectangle with your magic wand. Go to Selections>Modify>Contract by 5.
4. Hit delete on your keyboard. Do not deselect yet.
5. Go to Selections>Modify>Expand by 1.
6. Add a new layer and flood fill with your background color. Drag this layer under your frame layer. Select none.
7. Using the same settings that you used making your original rectangle. Draw 3 smaller rectangles across the top of the frame layer. You should have something like this.
8. Hide your white background layer and your bottom rectangle layer. Merge visible.
9. Add a drop shadow to this layer. Make sure you tick the shadow on new layer.
10. Duplicate this layer twice. On the original layer apply DSB Flux Bright Noise with the following settings. On the middle layer, apply Bright Noise and hit the mix button once. On the top layer, apply Bright Noise, and hit the mix button again.
11. Hide the top 2 layers and unhide your white background layer and background rectangle layer.
12. On your background rectangle layer, apply VM Experimental Tee Wee with the following settings.
Due to the version of windows that I'm running, I've had to import many of my filters into Filters Unlimited.
13. Activate the white background layer and add a new raster layer. Flood fill with the same color as your background rectangle.
14. Go to Layers>New Mask Layer>From Image. Choose DD Assorted Mask 5. Layers>Merge Group.
15. Activate your top hidden layer, and add your tube and and add a drop shadow of choice.
16. Crop any excess background from your tag and resize to your liking. I resized mine to 75% after cropping.
17. Add your copyright and your name. I added a fat white glow using Eye Candy 4000 to my name.
18. If you are not animating, go ahead and save your tag.
Animation
1. Make sure your top 2 Bright Noise shape layers are hidden. Copy merged. In Animation Shop, paste as a new image.
2. Back to PSP, hide the bottom noise layer and unhide the middle layer. Copy merged. In Animation Shop, paste after current frame.
3. Back to PSP, hide the middle noise layer and unhide the top layer. Copy merged. In Animation Shop, paste after current frame.
4. Save as a GIF file.
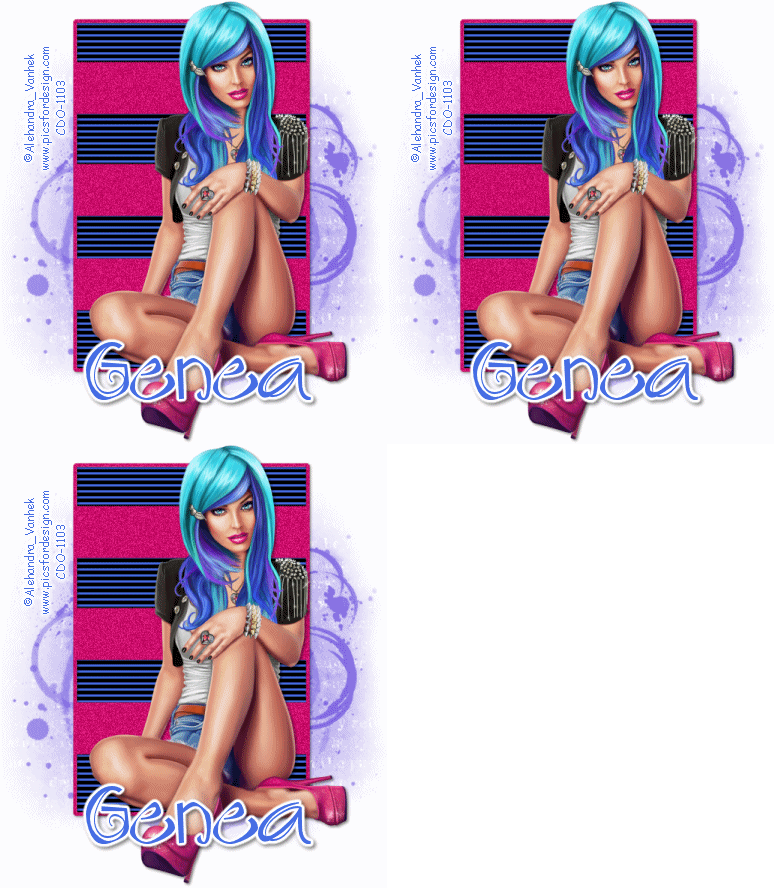
I hope you've enjoyed this tutorial. Here are a couple more tags I made with it.


No comments:
Post a Comment